The floating button in the extension allows you to create notes in three ways:
- Text-only notes.
- Notes with a screenshot and text.
- Notes with a screenshot only.
Each option is represented by a specific button icon, making it easy to choose your preferred method for note-taking. Here’s how each function works:
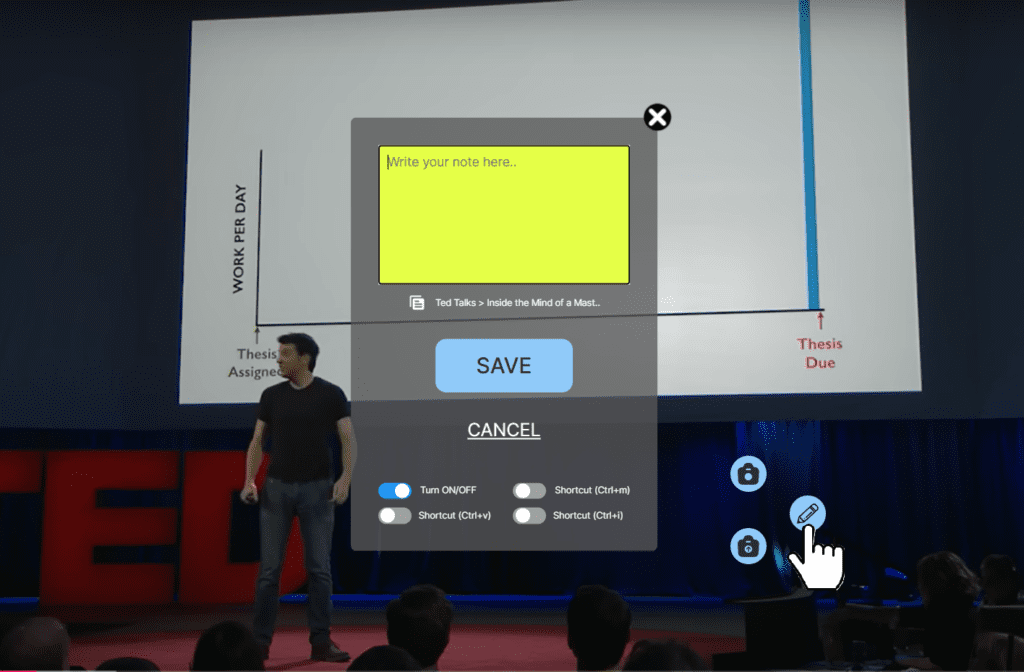
1. Taking Text-Only Notes #
Click the button with the pencil icon to open a popup. Inside the popup, you will find a text area where you can write your note. After writing, click SAVE to store the note in the previously selected insertion point.
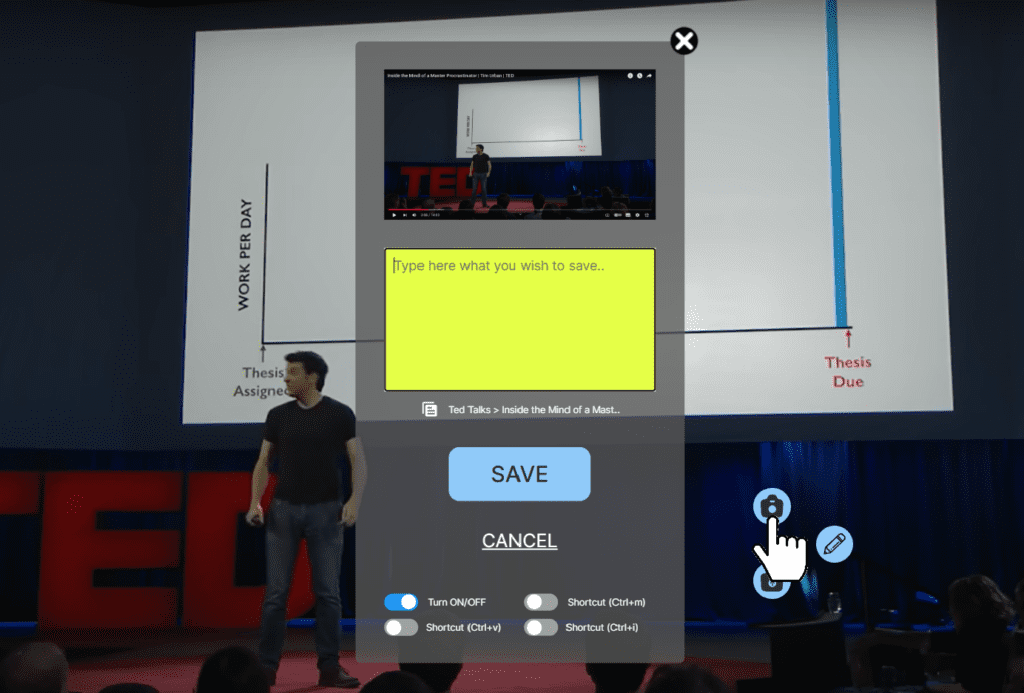
2. Taking Notes with a Screenshot and Text #
Click the button with the camera icon to open a popup. This popup will show a preview of the current page’s screenshot along with a text area. You can write your note in the text area and then click SAVE to store the screenshot and text note in the selected insertion point.
3. Taking Notes with a Screenshot Only #
Click the button with the camera and arrow icon to immediately capture a screenshot of the current page. The image will be saved directly in the previously selected insertion point without opening a popup or requiring any additional input.